
The Blue Screen of Death is the one screen that all Windows users are terrified of. The BSOD has been there for decades, and while it hasn’t changed much over the years, it’s still powerful enough to make users’ hearts skip a beat whenever they see it. Our Windows blues look to be becoming black now.
Here’s all you need to know about Windows 11’s Black Screen of Death, its causes, and how to solve the problems that could be causing it.
For BSOD in Windows 11, black is the new blue.
Multiple sources have verified that the classic Blue Screen of Death is receiving a facelift, but just on the surface, with the ‘B’ for Blue being replaced with the ‘B’ for Black.
The change is minor, but the goal is to make the BSOD resemble the colours of Windows 11’s start and shutdown displays. Microsoft has already experimented with altering the colour of the BSOD screen, but no final decision has been made. Some customers have reported seeing green screens or even red screens of death due to hardware problems in prior Windows 10 versions. However, for the most of Windows’ existence, the crash screen has been blue, to the point that many people find the familiarity of the blue screen reassuring.
Microsoft has yet to remark on the new colour scheme. It’s conceivable that the black screen of death is still in the words and will appear in future Windows 11 versions as a replacement. Regardless, it will be referred to as BSOD.
5 ways to fix Black Screen of Death on Windows 11
Method 1 : Run Windows Memory Diagnostic
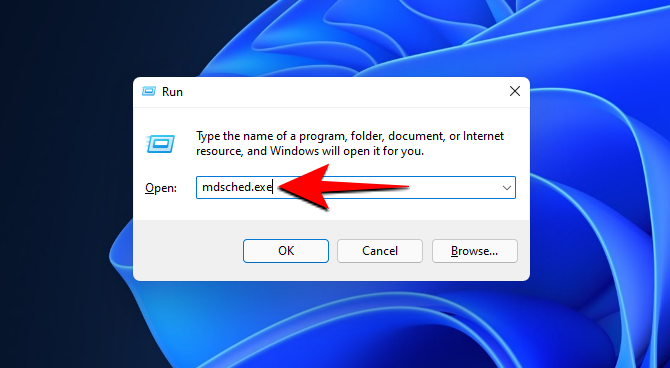
Internal components of your computer, such as RAM sticks, can potentially fail or come undone, resulting in a BSOD. You should perform memory diagnostics to see whether that’s the problem. To do so, enter the RUN box by pressing Win+R, then typing mdsched.exe and pressing Enter.
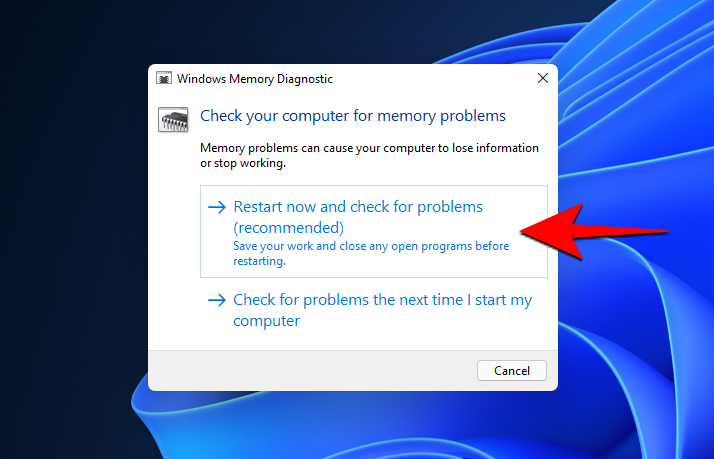
You will be prompted to restart your computer. Click on Restart now and check for problems (recommended).
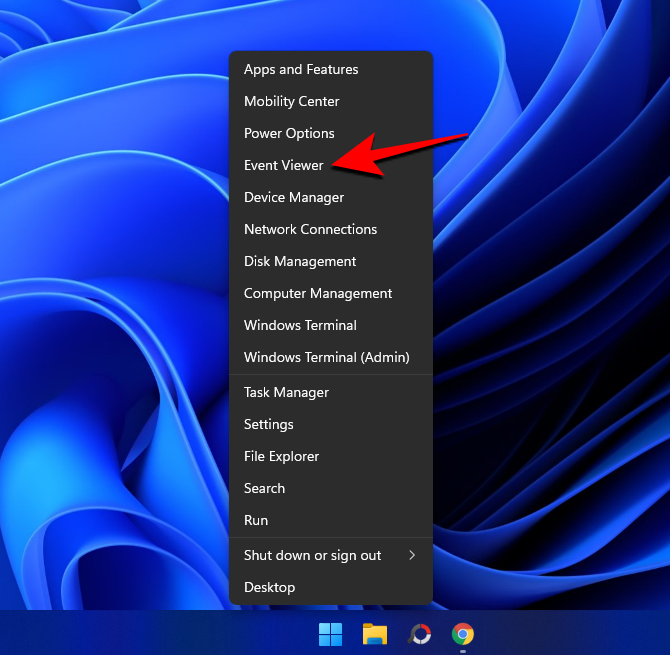
Your computer will restart when the test is finished, and you should be able to check the results once it has started up. If you don’t notice the results of the memory tests right immediately, you may have to look for them yourself. To do so, right-click the Start button and pick Event Viewer from the menu that appears.
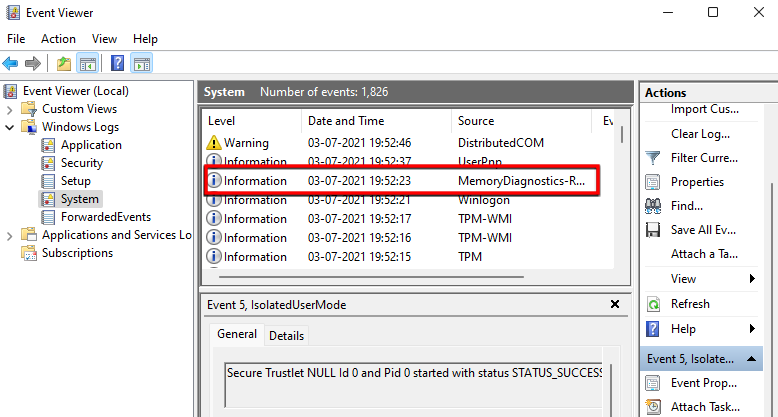
Then click on Windows Logs and double-click on System.

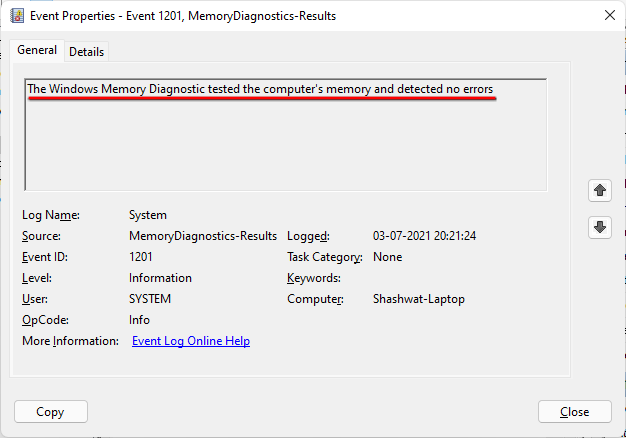
Now find the most recent MemoryDiagnostic file.
If the results show that the memory test detected no problems, then you can rule this out as the core of the problem.
If, on the other hand, the memory test returns changing RAM numbers, it’s an indication that you’re dealing with defective RAM. It’s possible that you’ll have to either reslot the RAM sticks or replace them entirely.
Method 2 : Note the BSOD error code
The BSOD displays your computer’s error message, along with a sad emoji, a link to Microsoft’s bluescreen troubleshooting website, a QR code, and a stop error code.
These error codes are meant to point you in the direction of the probable reasons of the BSOD. In principle, one may pull out their phone, scan the QR code (or at the very least write down the Stop code), and be brought to the Windows troubleshooting website.
There, you can go through the steps to find out the potential causes of the problem and how to go about fixing them.
Method 3 : Uninstall recent updates
After a system upgrade, black screen problems might also occur. Windows upgrades aren’t without flaws. Despite the fact that they are meant to keep your system up to date with the newest software and device drivers, they can occasionally cause difficulties in otherwise reliable systems.
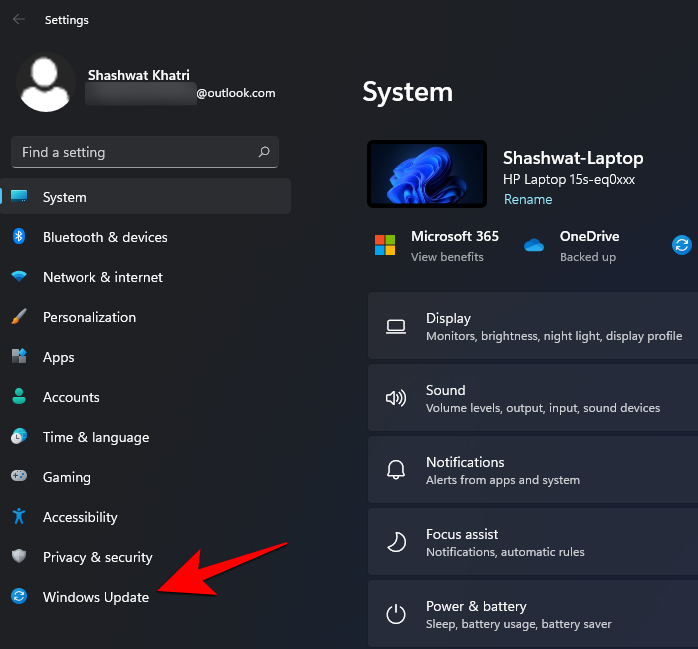
If you started getting BSOD crashes after installing an update, you may wish to undo it. To see your update history, go to Settings and press Win+I. From the left side, select Windows Update.
Then select Update history on the right.
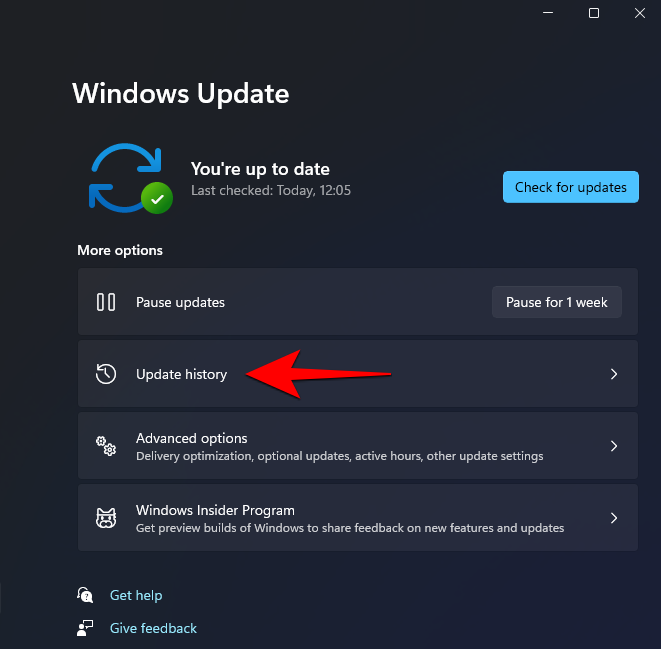
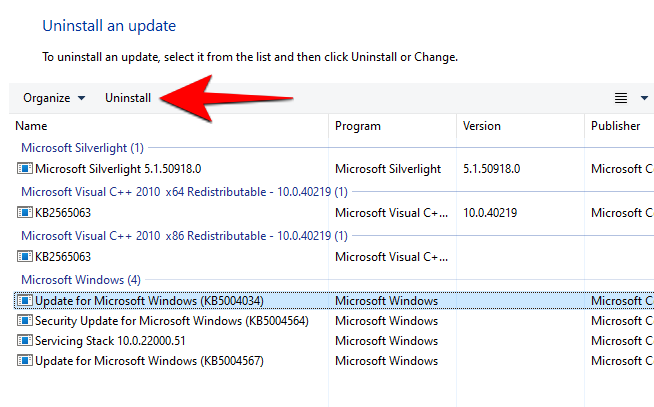
You can see all of the most recent updates that your system has received right here. Scroll down and click Uninstall updates under ‘Related Settings‘ to uninstall recent updates.
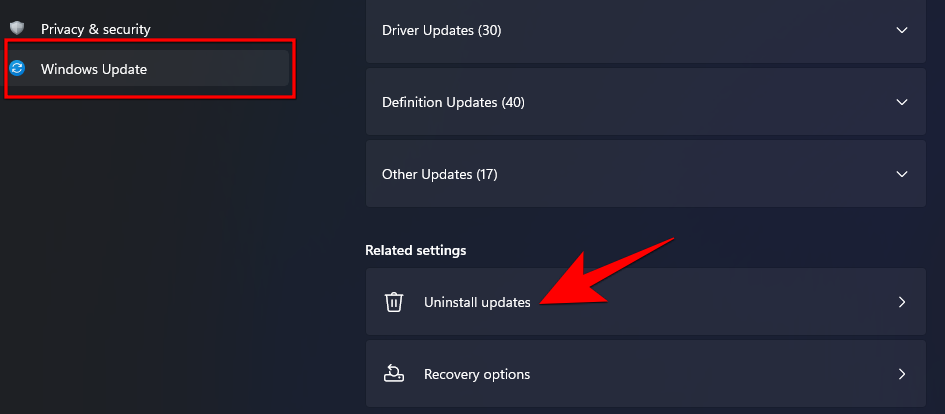
On the next screen, select the most recent updates and click on Uninstall.
Once they’re uninstalled, restart your system.
Method 4 : Boot into safe mode
If the problem isn’t too serious, you might be able to identify and troubleshoot it using the methods listed above. However, if the black screen of death prevents you from running your system normally, you may need to boot your computer into safe mode.
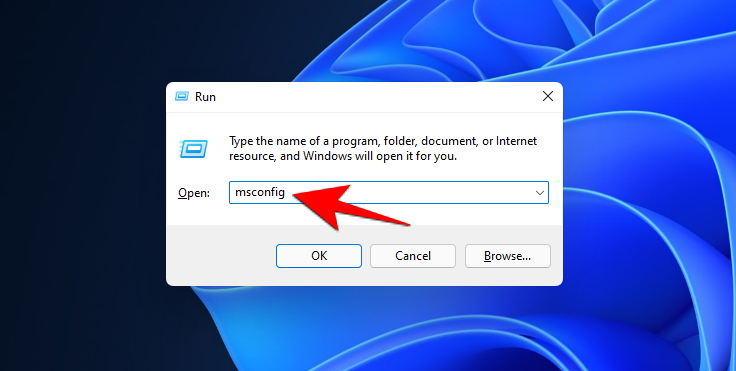
To do so, press Win+R to open the RUN box, type ‘msconfig’, and hit Enter.
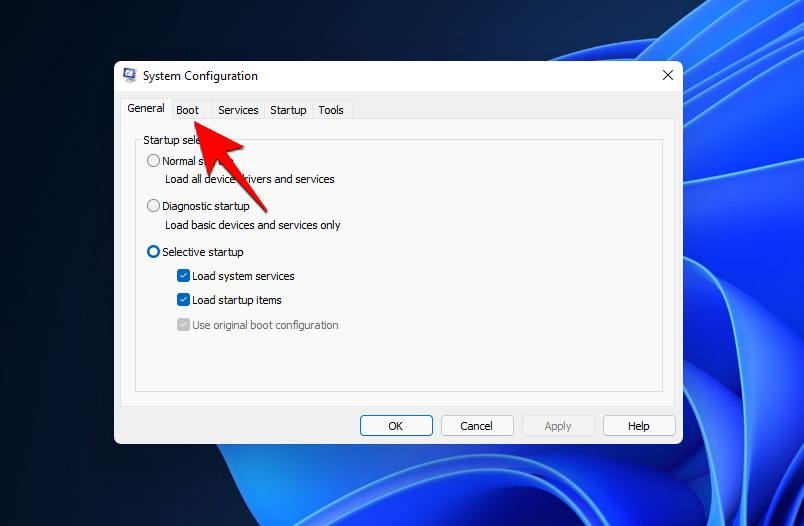
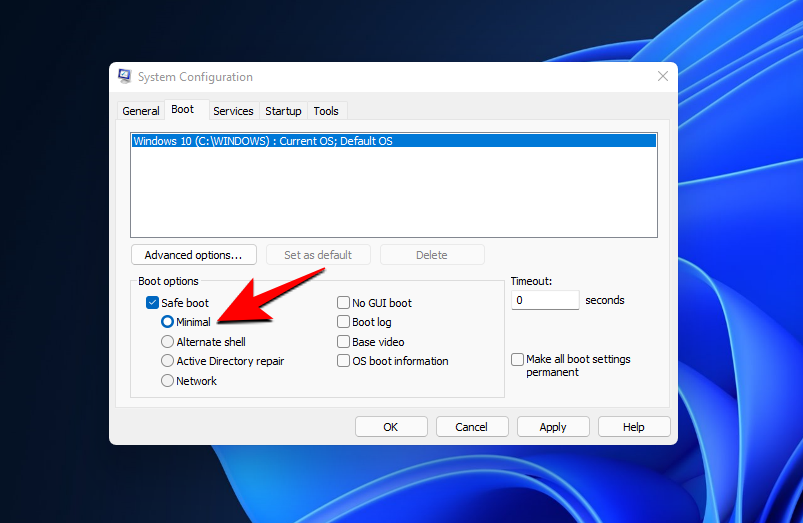
This will open up the System Configuration. Click on the ‘Boot’ tab.
Then click on Safe boot under ‘Boot options’.
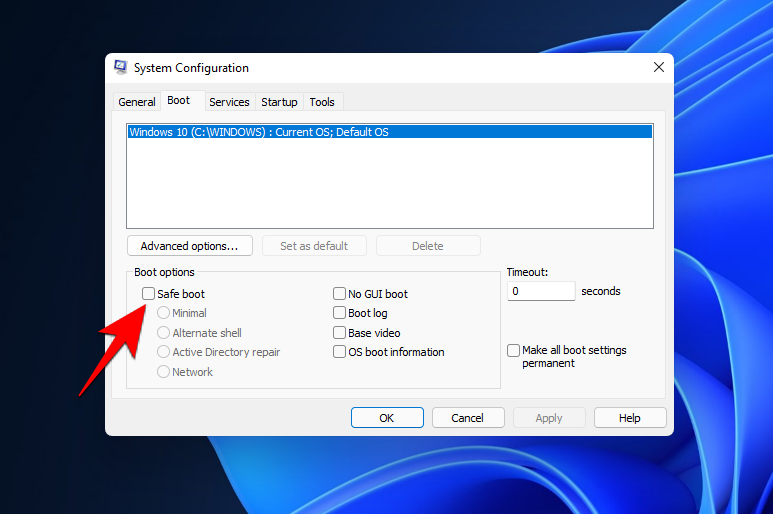
Select Minimal and hit OK.
Restart your computer to boot it up in Safe Mode. Your system will only load the bare minimum of Windows settings and programmes that require it to function properly, avoiding third-party software. If you can operate in safe mode without experiencing any black screen errors, it’s conceivable that a service or software is causing the issue.
To discover the culprits, perform malware scans and then use system restore to restore your computer to a prior state.
Method 5 : Run a System Restore
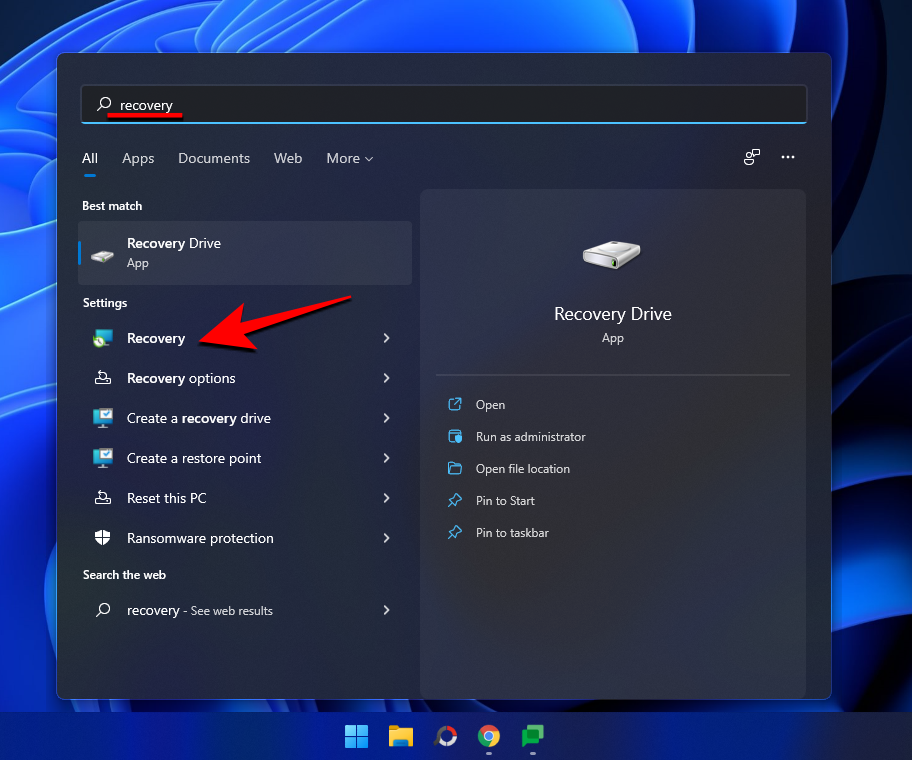
Your black screen of death issues should be resolved by restoring your system to a prior state. It’s also not that tough to accomplish. To do so, hit Start, type “recovery,” and then choose the option listed below.
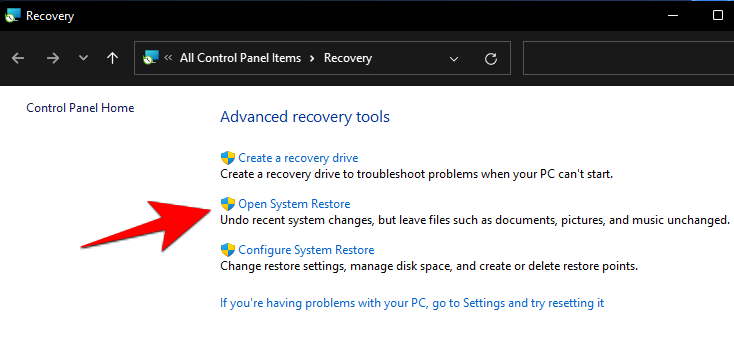
Then click on Open System Restore.
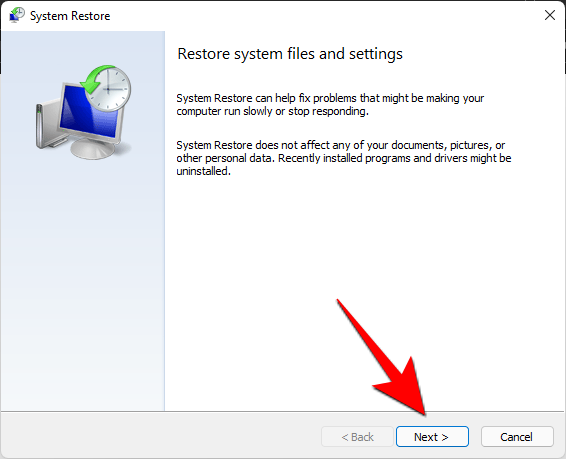
Click on Next.
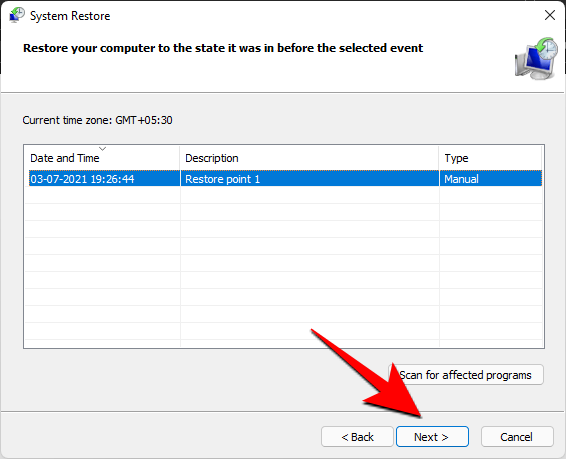
Then select a restore point and click Next.
Now click on Finish to confirm your restore point.
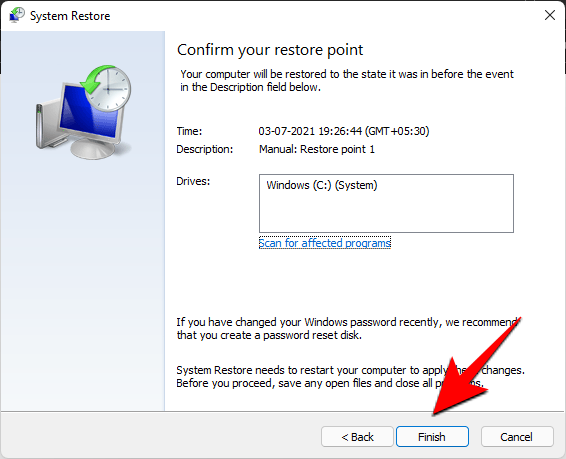
Any apps and drivers you’ve installed since the restore point was created will be uninstalled when you run system restore. This should fix your black screen of death issues and get your machine back up and running.

You must be logged in to post a comment.