
Flying in 360°: How Antigravity A1 and DJI Avata 360 Handle Immersive FPV Experiences

Immersive FPV flying changes how pilots experience aerial footage. Instead of viewing only what lies ahead, 360° drones capture the entire surrounding scene, allowing creators to choose different angles after landing. This flexibility makes filming easier and opens new possibilities for aerial storytelling.The Antigravity A1 combines a lightweight foldable design, 8K 360° recording, vision goggles, and motion controls. DJI Avata 360 takes a different approach with dual 1-inch-equivalent sensors, 8K/60fps HDR video, and multiple controller options. Both offer immersive experiences, but their differences affect how pilots fly, film, and edit.
6ace019663926.webp

Understanding the Immersive 360° FPV Flying Experience

How 360° Video Changes Traditional FPV

Traditional FPV drones rely on forward-facing cameras, requiring pilots to manage framing during flight. A 360° drone records its surroundings, allowing creators to select drone camera angles later.Antigravity A1 captures 8K 360° video at up to 30fps, while DJI Avata 360 supports 8K/60fps HDR recording. The higher frame rate gives DJI Avata 360 more flexibility when filming fast-moving subjects.DJI also includes a Single-Lens mode supporting 4K/60fps video and 2.7K/120fps slow motion. Both drones reduce the need for repeated flights, making it easier to create multiple perspectives from one recording.

Head Tracking and Real-Time Visual Feedback

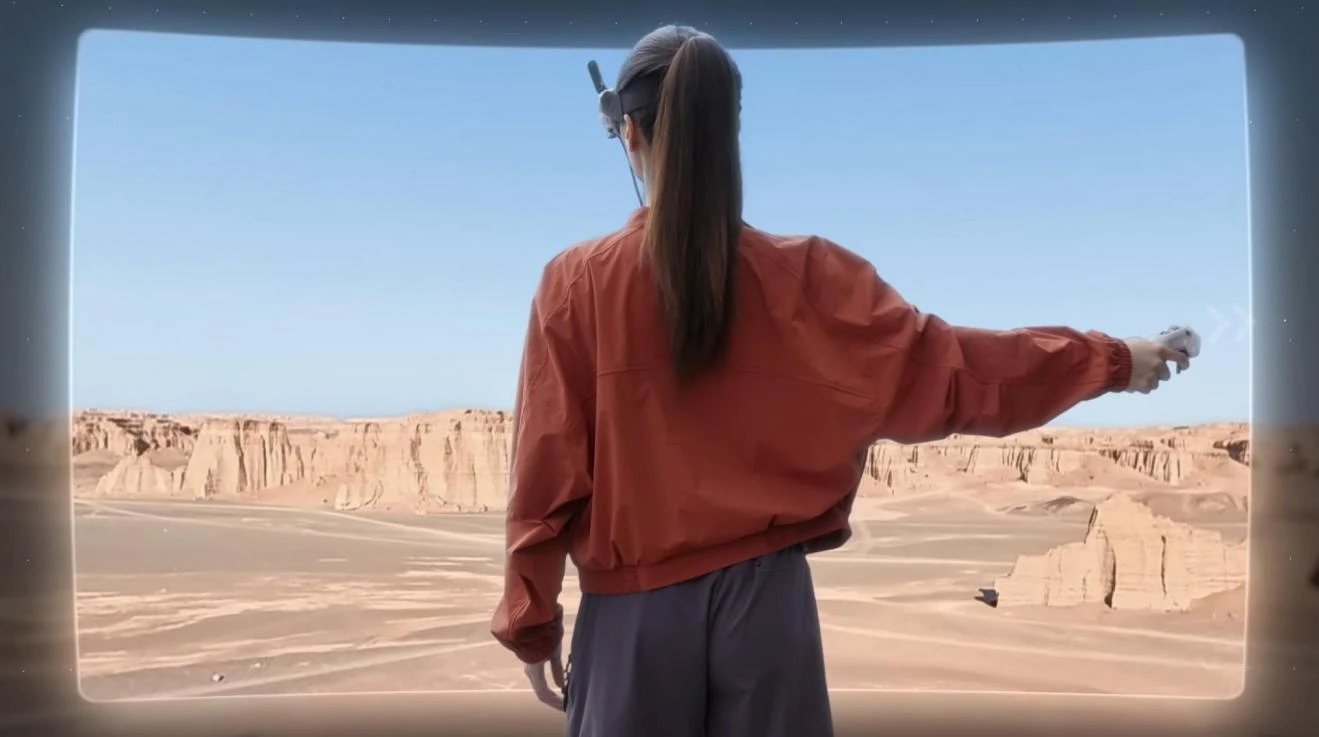
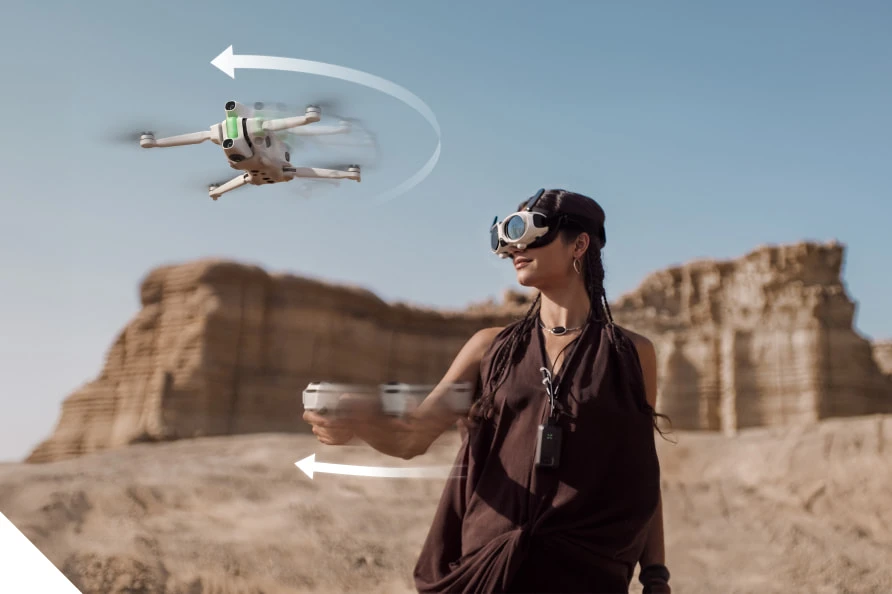
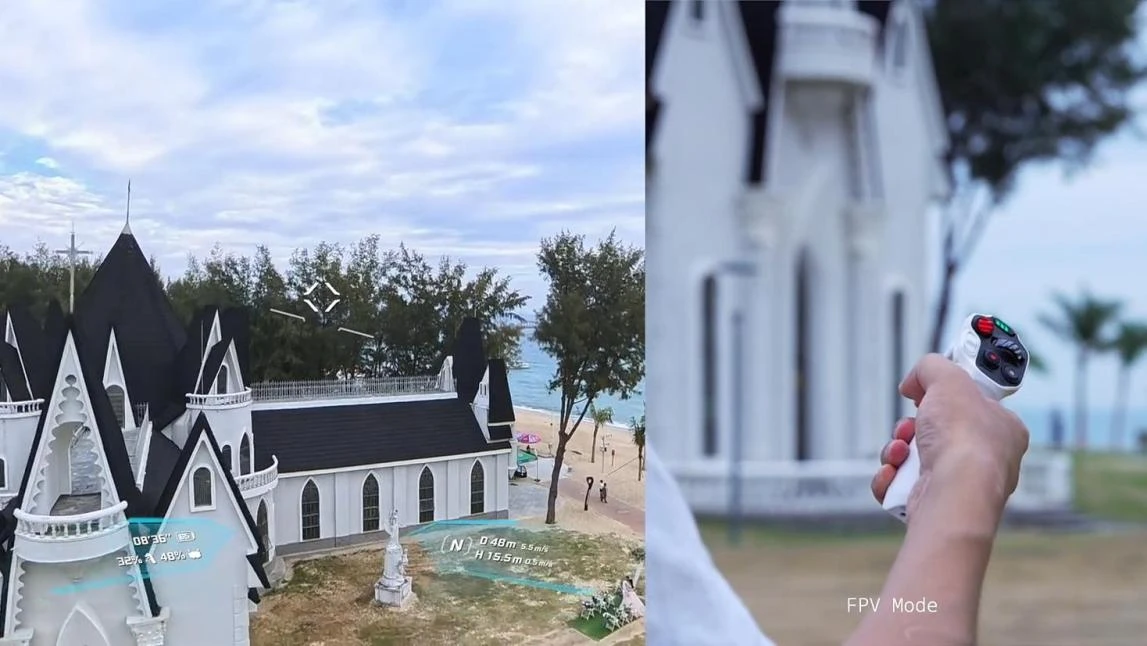
Head tracking makes immersive FPV more natural by allowing pilots to look around without changing the drone’s direction.Antigravity A1 uses dedicated vision goggles and OmniLink 360 transmission to provide real-time panoramic viewing. Pilots can explore their surroundings while maintaining a consistent flight path.DJI Avata 360 supports compatible FPV goggles and motion controllers, alongside traditional controllers such as the DJI RC 2.Their transmission systems also differ. Antigravity A1 delivers up to 2K/30fps live video, while DJI Avata 360 uses O4+ transmission with a 1080p/60fps feed. These systems prioritize panoramic viewing and smooth visual feedback in different ways.

Antigravity A1 vs DJI Avata 360: Immersive Flight Systems

Vision Goggles and Motion Controls

Antigravity A1 features dedicated vision goggles weighing approximately 340.4g. They include dual 1.03-inch Micro-OLED displays with 2560 × 2560 resolution, a 72Hz refresh rate, and a 90° field of view.Additional features include adjustable diopters, 30GB of built-in storage, and approximately 2.5 hours of battery life. Its 124.3g grip controller offers around four hours of operation.DJI Avata 360 provides more controller flexibility. Pilots can choose compatible goggles and motion controls for immersive flying or use a standard remote controller for traditional operation.Antigravity A1 emphasizes a dedicated motion-controlled experience, while DJI Avata 360 accommodates different flying preferences.

8K Recording and Video Transmission

Camera performance is a major consideration when comparing these drones.Antigravity A1 records 8K 360° video at up to 30fps, 5.2K at 60fps, and 4K at up to 100fps. It also captures 55MP photos and supports formats including INSV, DNG, H.264, and H.265.DJI Avata 360 features dual 1-inch-equivalent sensors capable of recording 8K/60fps HDR video and 120MP photos. Its Single-Lens mode provides additional shooting flexibility.For transmission, Antigravity A1 supports a maximum 10km FCC range through OmniLink 360. DJI Avata 360 offers up to 20km FCC or 10km CE through O4+.These figures represent maximum rated transmission distances. Actual performance varies with interference, terrain, and local regulations.

Flight Performance, Safety, and Everyday Usability

Weight, Portability, and Battery Life

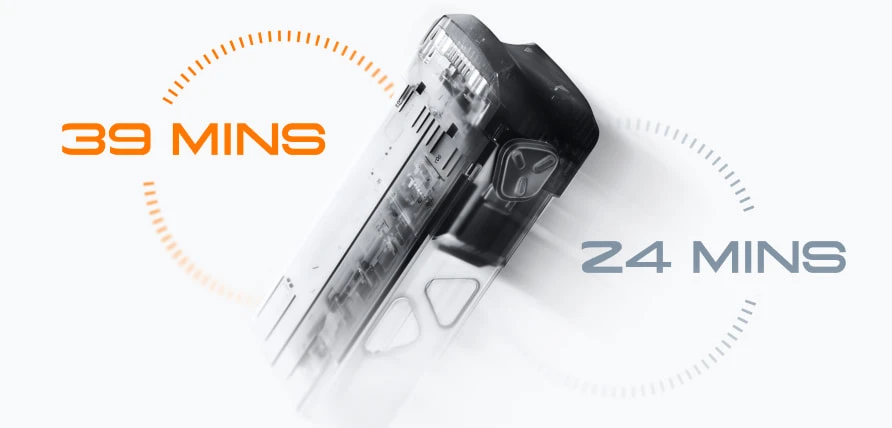
Size and weight influence how easily pilots can travel with their equipment.Antigravity A1 weighs approximately 249g with its standard battery or 291g with the extended battery. Its folded dimensions of 141.3 × 96.2 × 81.4mm make it convenient for compact travel kits.Flight time reaches up to 24 minutes with the standard battery or 39 minutes with the high-capacity option.DJI Avata 360 weighs 455g, placing it in the C1 category, and offers up to 23 minutes of rated flight time.Antigravity A1 prioritizes portability and longer optional endurance, while DJI Avata 360 uses a heavier FPV-oriented design with integrated propeller protection.

Obstacle Sensing and Flight Safety

Safety features help pilots navigate unfamiliar environments, particularly when using FPV goggles.Antigravity A1 combines forward and downward binocular vision sensors, a bottom infrared sensor, and omnidirectional visual obstacle avoidance.DJI Avata 360 includes omnidirectional obstacle sensing, integrated propeller guards, and ActiveTrack 360° for automated subject tracking.These features support different flying needs. Antigravity A1 combines sensing with a lightweight design, while DJI Avata 360 adds physical propeller protection and automated tracking.Neither system eliminates collision risks. Pilots should maintain situational awareness and follow local flight regulations.

Creating Immersive 360° Aerial Videos

Capturing Multiple Angles in One Flight

A 360° drone allows creators to capture several perspectives during a single flight. A smooth climb, orbit, or forward pass can become multiple cinematic shots during editing.Antigravity A1 supports this workflow through its panoramic camera and motion-based controls, making it practical for travel footage and landscape filming.DJI Avata 360 adds flexibility through its Single-Lens mode and higher-frame-rate 8K recording. These features can benefit creators filming action sequences or switching between panoramic and conventional video.Both drones help reduce repeated takes and allow pilots to focus on smooth flight movements.

Reframing Footage for Social Media

Reframing allows creators to turn 360° footage into standard horizontal videos, cinematic landscape shots, or vertical clips for social media.Antigravity A1’s 8K panoramic recording provides flexibility when selecting angles after filming. DJI Avata 360 offers similar possibilities with 8K/60fps HDR capture and 42GB of built-in storage.Both support content creation for YouTube, Instagram Reels, and short-form platforms.Final image quality depends on the selected crop, export resolution, and editing process. However, capturing multiple perspectives in one flight makes aerial content production more efficient.
6ace01aba0f59.webp

Conclusion

Antigravity A1 and DJI Avata 360 offer distinct approaches to immersive FPV flying.Antigravity A1 focuses on lightweight portability, dedicated vision goggles, motion controls, and flexible 360° recording. DJI Avata 360 emphasizes higher-frame-rate 8K HDR video, controller versatility, integrated propeller guards, and automated tracking.For travel-focused creators, portability and battery flexibility may matter most. For action-oriented pilots, higher frame rates and additional control options may carry more weight.Both drones demonstrate how immersive 360° technology gives pilots greater creative freedom, turning one well-planned flight into multiple finished perspectives.

How do you manage stress?

View all responses
Which Foldable Drone Features Help Beginners Most?

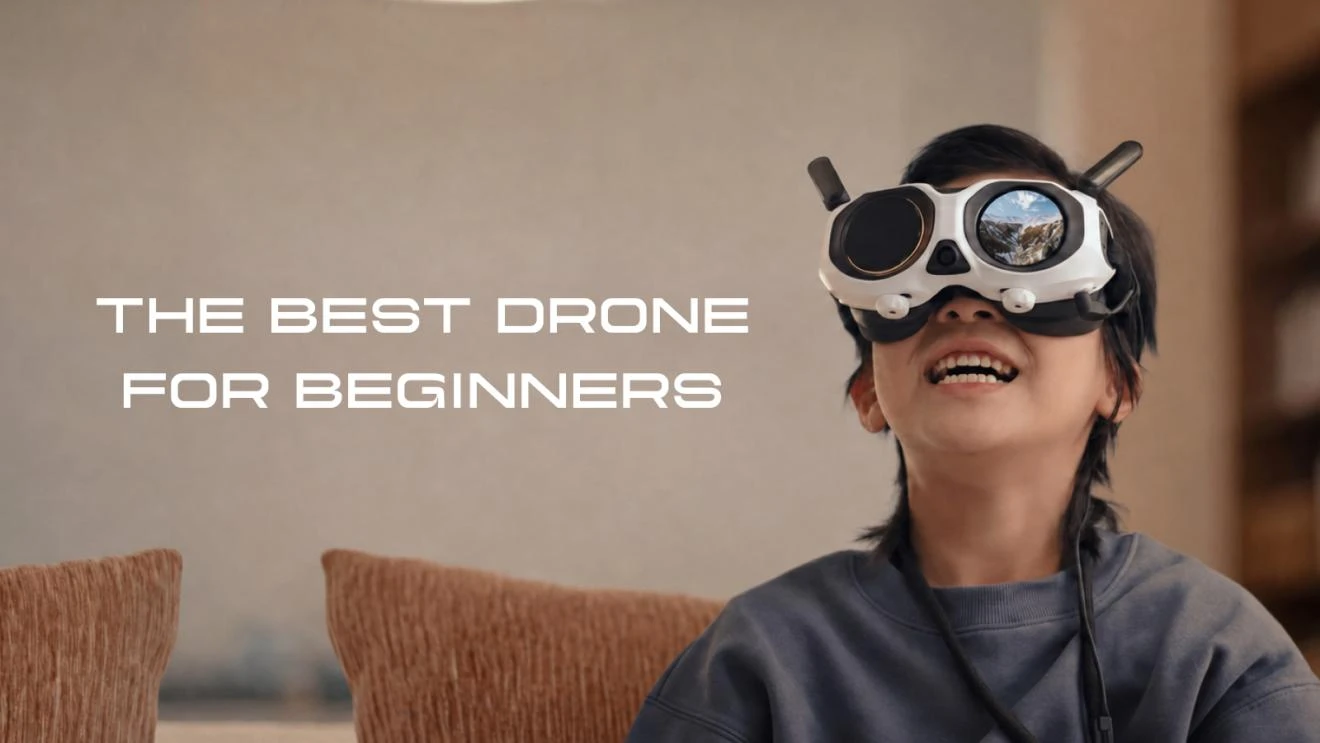
Beginners benefit most from foldable drone features that reduce risk, simplify control, and make carrying the drone effortless. The right model should help new pilots stay oriented, avoid common mistakes, and capture good footage without requiring advanced skills. Safety tools such as obstacle avoidance, return-to-home, stable navigation, and battery warnings matter more than raw speed. Portability also plays a big role, because a compact drone is easier to pack, store, and bring to practice sessions. Camera features can further lower the learning curve when they include automated shots, subject tracking, and flexible editing options. For example, the Antigravity A1 combines a foldable travel-friendly design with beginner-focused flying support and 8K panoramic capture, showing how modern features can make first flights more manageable and enjoyable.

6ace01d5efc32.webp

What Safety Features Should Beginners Prioritize?

Obstacle Avoidance and Automatic Return to Home

The most helpful safety features for beginners are obstacle avoidance and automatic return to home. Obstacle sensing can detect nearby objects and help prevent collisions during forward flight, landing, or low-altitude maneuvering, which is where new pilots often make mistakes. Return-to-home adds another layer of protection by guiding the drone back automatically if the signal drops or the pilot becomes disoriented. On a beginner-friendly foldable drone, these tools reduce panic and make each practice session less stressful. The Antigravity A1 supports omnidirectional visual obstacle avoidance through forward and downward binocular vision sensing plus a bottom infrared sensor, giving new users stronger environmental awareness and added confidence when flying in unfamiliar open spaces.

Navigation Assistance and Low-Battery Alerts

Navigation assistance helps beginners hold position, understand location, and fly more predictably. Reliable satellite positioning improves hovering stability and makes it easier to stop, reframe, and return safely. This matters when a new pilot is still learning orientation and distance judgment. Clear low-battery alerts are equally important because beginners often lose track of remaining power while focusing on flight controls or the camera view. Early warnings create time to descend or trigger return procedures before battery levels become critical. The Antigravity A1 uses GPS, BeiDou, and Galileo for positioning support, which strengthens location accuracy. Combined with battery monitoring and automated safety responses, this type of guidance helps first-time users avoid rushed decisions and unsafe landings.

How Do Portability and Battery Life Help New Pilots?

Lightweight Foldable Designs for Easy Travel

A lightweight foldable drone is easier for beginners to live with, and that usually means more practice. Compact designs fit into small bags, store neatly at home, and feel less intimidating to carry to a park or travel destination. A lighter takeoff weight can also simplify compliance in some regions, which removes another barrier for first-time owners. The Antigravity A1 folds down to 141.3 × 96.2 × 81.4 mm and weighs 249g in its standard version, making it especially convenient for casual outings. When a drone is easy to pack and quick to deploy, new pilots are more likely to fly often and build confidence.

Flight Time, Battery Options, and Charging Convenience

Battery life directly affects how comfortable beginners feel while learning. Short flights create pressure, while longer endurance gives new pilots time to practice takeoffs, hovering, turns, and landing without rushing. Flexible battery options are also valuable because they let users choose between lighter everyday flying and extended sessions. The Antigravity A1 offers up to 24 minutes with the standard battery and up to 39 minutes with the high-capacity option, with charging times of roughly 45 to 103 minutes. That combination supports both quick practice flights and longer outings. For beginners, predictable endurance and manageable charging make regular training much easier to maintain over time.

Which Camera Features Make Aerial Filming Easier?

8K 360° Video and Flexible Post-Flight Framing

For beginners, easier aerial filming often starts with flexibility after the flight rather than perfect camera control in the air. An 8K 360° camera can capture everything around the drone, which means the pilot does not need to frame every shot precisely while also learning to fly. After landing, the footage can be reframed into standard angles, wide views, or social-ready clips without repeating the flight. The Antigravity A1 is a lightweight 8K panoramic drone co-incubated by Insta360, recording up to 8K at 30 fps, 5.2K at 60 fps, and 4K at 100 fps. That high-resolution spherical capture gives beginners more room to correct composition mistakes and still create polished results.

Automated Flight Shots, Subject Tracking, and Easy Editing

Automated flight shots are extremely helpful for beginners because they turn difficult camera moves into simple presets. Instead of manually controlling speed, direction, and framing at once, a new pilot can use guided movements to create smoother reveals, orbits, and cinematic passes. Subject tracking adds another layer of convenience by helping the drone keep a person or moving target in frame, reducing the need for constant corrections. Easy editing tools matter too, especially when they streamline trimming, reframing, and exporting clips for quick sharing. Together, these features lower the skill barrier between a first flight and a usable video. For beginners, that faster path to good results makes practice more rewarding and less frustrating.

6ace01e42c1da.webp

Conclusion

The foldable drone features that help beginners most are clear: strong safety systems, dependable navigation, easy portability, useful battery life, and camera tools that simplify filming. Obstacle avoidance, return-to-home, and low-battery alerts reduce the chance of mistakes. Lightweight foldable construction makes it easier to carry the drone regularly, which leads to more practice and faster improvement. Longer flight times and convenient charging remove pressure during training sessions. On the camera side, 360 capture, automated shots, and editing flexibility help new pilots create better footage before they master advanced control. The Antigravity A1 shows how these features can work together in one beginner-friendly package. For most first-time buyers, ease of use and safety should come before speed or advanced manual performance.

What’s something you’ve done that your past self would be proud of?

View all responses

What Makes a Drone With Camera Beginner-Friendly?

A beginner-friendly drone with camera makes flying easier to learn, safer to practice, and more rewarding to use from the first session. The best models reduce manual complexity through intuitive controls, built-in assistance, and tools that help new pilots stay oriented in the air. They also support creativity by simplifying filming, framing, and movement. Instead of overwhelming users with technical demands, beginner-friendly drones guide them toward steady progress. That combination matters because most new flyers want two things at once: confidence during flight and better-looking footage without a long learning curve.

6ace020c90cac.webp

Features That Help Beginners Learn Drone Flying Faster

Simple Controls Reduce the Difficulty of First Flights

Simple controls make the first few flights far less intimidating. Clear takeoff and landing commands, responsive sticks or motion inputs, and easy access to basic camera functions help beginners focus on orientation rather than memorizing complex steps. A well-designed controller layout also reduces hesitation, which is important when learning how the aircraft reacts to altitude, direction, and wind. When controls feel predictable, users make corrections faster and avoid oversteering. Beginner-friendly drones often pair this simplicity with stable hovering, allowing new pilots to pause, regain awareness, and continue flying with less stress and better control.

Assisted Flight Modes Build User Confidence

Assisted flight modes give beginners a reliable safety net while they build core skills. Features such as automated takeoff, automatic return functions, altitude hold, and guided movement reduce the pressure of managing every action manually. These tools help users understand how the drone behaves in real flight without feeling overwhelmed by constant adjustments. They also create more consistent results, which encourages practice instead of frustration. When choosing the best drone with camera for beginners, users should consider how well these support features match their learning needs. When a drone can support the pilot during key moments, beginners gain confidence more quickly. That confidence often leads to smoother handling, better decision-making, and a more enjoyable learning experience overall.

Camera Drone Technologies That Support New Creators

Automated Shooting Features Simplify Content Creation

Automated shooting tools help new creators capture polished footage without needing advanced piloting or camera skills. Subject tracking, preset flight paths, and intelligent framing make it easier to produce clips that look controlled and intentional. Antigravity A1 supports this approach with Deep Track and automated flight options designed for creative shooting. Its 360° camera system also lets users capture footage first and adjust perspectives later, reducing the pressure to frame every shot perfectly in real time. For beginners, these features lower the technical barrier and make the creative process feel more accessible, flexible, and immediately rewarding.

Safety Systems Help Beginners Fly With More Awareness

Safety systems make beginner flights more manageable by helping users stay aware of their surroundings and aircraft status. Obstacle awareness, low-battery alerts, return assistance, and stable positioning all reduce the chance of avoidable mistakes. These features do more than prevent incidents; they teach better habits by reinforcing spatial awareness and encouraging smarter decisions in the air. New pilots benefit most when safety tools work quietly in the background instead of interrupting the flight experience. That balance allows beginners to learn actively while still receiving support, making practice sessions safer, calmer, and more productive from the beginning.

Immersive Views Make Flight More Engaging and Intuitive

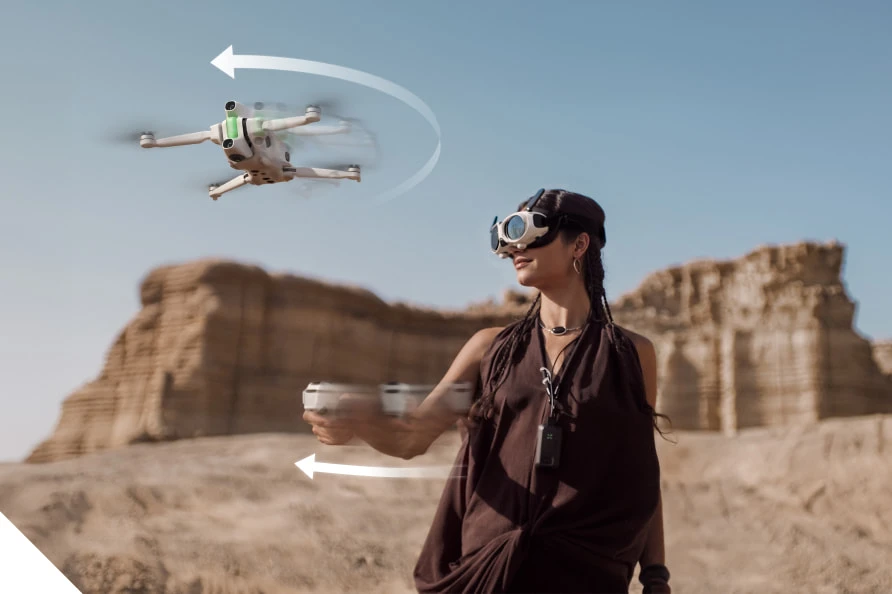
Immersive viewing can make flight feel more natural because beginners see movement from a more direct, real-time perspective. Antigravity A1 introduces an FPV-style experience through Vision Goggles and a Grip Motion Controller, giving users a stronger sense of direction, speed, and camera alignment. This kind of interface can improve intuition during flight by connecting hand movement, visual feedback, and aircraft response more closely. For new users, that engagement often makes practice easier to understand and more enjoyable to repeat. A compelling view also helps creators feel more connected to the shots they are capturing.

6ace021b78832.webp

How Beginner-Friendly Drones Improve the Creative Experience

Easier Operation Lets Users Focus on Capturing Moments

When operation feels easy, beginners spend less attention on managing the drone and more attention on the scene they want to capture. That shift matters because creativity usually improves when users can think about timing, movement, and composition instead of basic aircraft control. Smooth hovering, reliable assistance, and straightforward camera access all support that transition. New pilots can react faster to changing moments and experiment more freely when they trust the drone to remain stable and responsive. In practice, easier operation turns flight from a technical task into a more enjoyable tool for visual storytelling and memory-making.

Flexible Camera Options Encourage More Exploration

Flexible camera options encourage beginners to try more angles, movements, and storytelling styles without feeling locked into a single shooting approach. Features such as reframing, wide scene capture, and different perspective choices make experimentation less risky because users have more freedom to refine footage after the flight. That flexibility often leads to better learning, since beginners can review what worked and adjust their creative choices over time. It also makes short practice flights more productive. When a camera drone supports exploration instead of punishing mistakes, new users stay motivated and discover their preferred style much faster.

Conclusion

A drone with camera becomes beginner-friendly when it combines simple control, helpful automation, strong safety support, and creative tools that remove unnecessary pressure. These features help new pilots learn faster while making the experience more enjoyable from the start. They also improve results by letting users focus on composition and storytelling instead of constant technical correction. Models that add intelligent shooting and immersive viewing can make that process even more intuitive. For beginners, the right drone is not just easier to fly; it actively supports confidence, awareness, and creativity every time it leaves the ground

Which celebrity would you love to meet, and what would you talk about?

View all responses

Pico do Areeiro by Car in 2026: Parking, PR1 Rules and Return Transport

Pico do Areeiro is one of Madeira’s most rewarding destinations to visit by car. A paved mountain road leads to a viewpoint at 1,818 metres, allowing travellers to reach the island’s high peaks without joining an organized tour. Driving also provides the flexibility to respond to changing weather, arrive outside the busiest periods and combine the mountain with Ribeiro Frio or Santana.

The visit requires more planning in 2026 because parking is charged, access to the official PR1 trail must be reserved and the complete hike to Pico Ruivo is now one-way. Before leaving Funchal, decide whether you only want to visit the viewpoint, walk to Pedra Rija and return, or complete the full mountain crossing.

How to Drive from Funchal to Pico do Areeiro

The journey from central Funchal generally takes about 40 to 50 minutes in normal conditions. The usual route climbs towards Monte and Poiso before continuing to Pico do Areeiro. The road is paved throughout, so four-wheel drive is not necessary.

The main challenges are the gradient, frequent bends and rapidly changing visibility. Sunshine in Funchal does not guarantee clear weather at the summit. Cloud, wind and rain can develop as the road enters Madeira’s central mountain massif.

Use a lower gear on long descents to avoid relying constantly on the brakes. Automatic cars normally have a manual or low-gear mode that can provide additional engine braking. Remain in your lane around blind corners and stop only at designated viewpoints.

A compact car with adequate engine power is usually the most practical choice. It is easier to position on mountain roads and more convenient when parking areas become busy. Suitable vehicles can be compared through RentGo Madeira before planning the journey.

Parking and Sunrise Visits in 2026

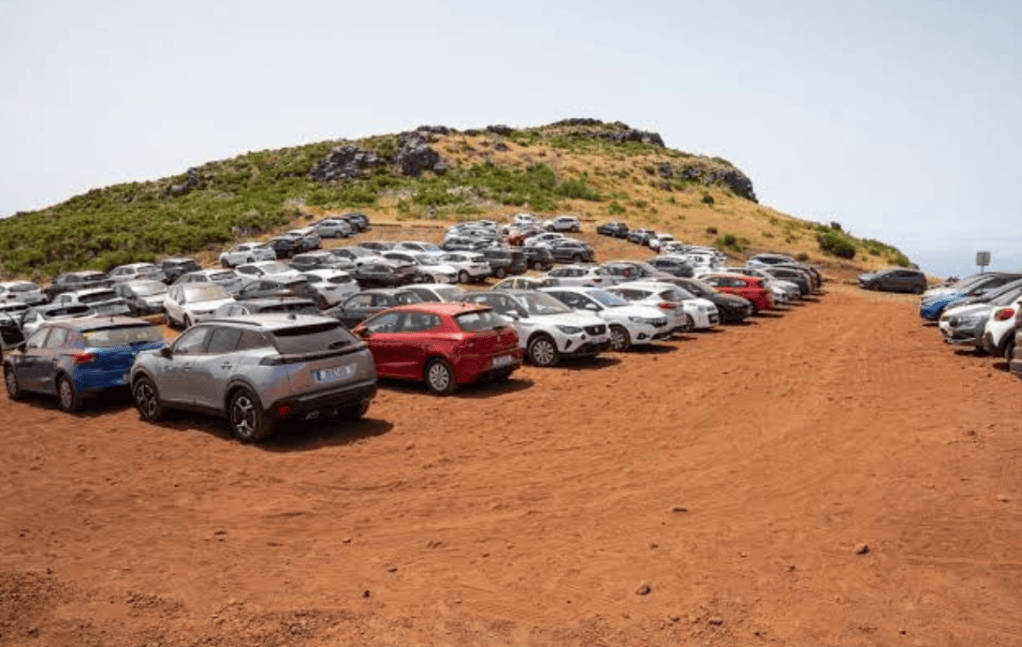
The official parking area is close to the summit viewpoint and the beginning of PR1. The published parking charge for Pico do Areeiro in 2026 is EUR 4 per hour. This payment does not include access to the hiking trail.

Sunrise is the busiest time because visitors often arrive while the surrounding peaks are still above the cloud layer. Parking close to the viewpoint can fill quickly. Allow enough time to park correctly and avoid leaving the vehicle on bends, access lanes or turning areas.

A sunrise visit does not automatically provide access to PR1. Entry to the classified trail is controlled through an online reservation and the selected time slot. If the purpose of the visit is only photography or sightseeing, the viewpoint can be enjoyed without committing to the full hike.

Mountain weather is highly local. Check the forecast or a live camera before starting the drive, but be prepared for conditions to change. Warm clothing and a wind-resistant outer layer are useful even when the coast is hot.

Short Walk or Full PR1 Hike?

PR1 Vereda do Areeiro connects Pico do Areeiro with Pico Ruivo, Madeira’s highest summit at 1,862 metres. The official tourism portal currently lists the trail as open, although temporary restrictions may be introduced because of weather, maintenance or safety concerns.

Visitors can choose between two different versions of the route. The shorter option runs from Pico do Areeiro to Miradouro da Pedra Rija. This section is 1.2 kilometres each way, producing a return walk of approximately 2.4 kilometres. Walkers use the same path back to the car park.

The complete PR1 route covers 6.1 kilometres from Pico do Areeiro to Pico Ruivo. It is officially graded as moderate and takes approximately three hours, but the stairs, tunnels, exposed slopes and elevation changes make it physically demanding.

After Pedra Rija, the complete trail becomes one-way towards Pico Ruivo. Hikers are not permitted to return to Pico do Areeiro along the same section. After reaching the summit, the most practical exit is PR1.2 to Achada do Teixeira, adding approximately 2.8 kilometres. A longer exit is available through PR1.1 towards Ilha.

Advance registration through the SIMplifica portal is mandatory. The published 2026 fee is EUR 4.50 for visitors over 12 using only the return section to Pedra Rija. The full PR1 ticket costs EUR 10.50 and includes the authorized exit routes covered by the booking conditions.

How to Return to a Car Left at the Starting Point

The short Pedra Rija walk is the simplest choice for travellers using a rental car because it finishes at the Pico do Areeiro car park. The complete hike requires separate transport planning.

A car left at Pico do Areeiro will be far from Achada do Teixeira when the hike ends. The roads do not provide a quick connection between the two trailheads. Arrange a transfer or taxi before starting the walk and confirm the meeting point. The Madeira nature authority does not organize the return journey.

Using two vehicles is another possibility, but it adds considerable driving time because one car must first be left near the exit. For most visitors, a pre-booked transfer is more efficient. Include the transfer waiting time when planning the day and do not rely only on the official three-hour estimate for PR1.

Carry water, food, suitable footwear, a charged phone and protection from wind or rain. Download booking confirmation and essential route information in advance because mobile coverage may be unreliable in the mountains.

Pico do Areeiro remains one of Madeira’s outstanding road trip destinations in 2026. A car makes the summit easy to reach, but the hiking logistics should be organized before departure. Reserve the correct PR1 option, budget for parking, check the official trail status and arrange return transport if continuing beyond Pedra Rija. With those details settled, the visit becomes one of the most impressive mountain experiences available within an hour of Funchal.

What does it mean to be a good person?

View all responses